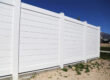
When installed properly, a vinyl fence gives property owners a beautiful, low-maintenance way to add security and privacy to their lot. And fortunately, putting that fence in the right way should be relatively easy. We offer custom fabrication for your project, meaning we can use our CNC (computer numeric control) machines to fashion your fence materials so it all fits together precisely.
Still, we’ve seen some contractors run into issues, primarily because they rushed the project or didn’t always know which steps to take. In an effort to help our customers avoid that, we wanted to offer some guidance. Here are three things you should do to avoid installation mistakes with your next vinyl fence project.
#1: Check Before You Dig
You have two areas to look at here: the property survey and the location of underground utilities.
You should be able to pinpoint any utilities with a quick call to the local utility provider- Call 811 for Dig Alert or visit digalert.org. Checking that to-do off before you start digging is mandatory per California State Law and can help you avoid a big headache.
Also, if the fence is close to the property boundary, consult the property owner’s survey before you start plotting the fence. Use that survey to validate the placement of the fence line.
#2: Evaluate the Surrounding Area and Make Necessary Adjustments
What’s going on in the surrounding area can affect the fence, and you should make certain adjustments under certain conditions.
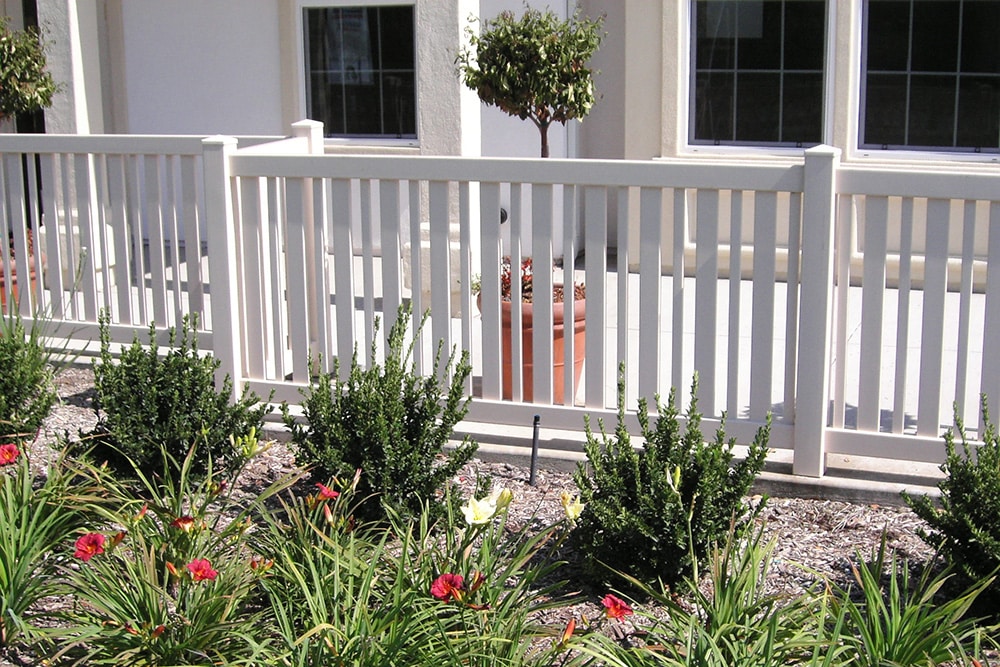
If you’re planning to put the fence up on a slope, for example, talk with our team first. We can help you make adjustments so that the fence can withstand the added force that comes from that slope. We can also adjust the height of the fencing so it looks neat even as it goes over any graded areas, like you can see here.
You should also look at what will be around the fence. If you’re putting it up near any reflective surfaces, the reflected sunlight could put the fence at a greater risk of warping. We can help you explore options to prevent that, like adding anti-reflective coating or putting in a landscape barrier.
#3: Put the Right Supports in Place
For the fence to stand strong through the years, it needs the right support system. This starts with the placement and sizing of your fence post holes.
The depth of the hole should usually be at least one-third of the post’s length, but it depends on the fence. If you’re putting the fence on a slope, for example, you probably want to dig deeper. Our team can advise you on the right depth for that specific fence.
The post holes should usually be twice the diameter of the post, and concreting them in place helps to stabilize the fence long-term. Use a post level as the concrete is setting to make sure the posts are plumb.
The spacing of the post is just as important. If your post holes are too close together, the vinyl might fit upon installation but run into issues later. Vinyl expands and contracts with different temperatures. Spacing the holes the recommended distance apart allows that to happen without warping and other issues.
You don’t have to figure out proper installation alone. For support on your next fencing project, our team of experts is here to help. Contact our Vinyl Craft team today.